

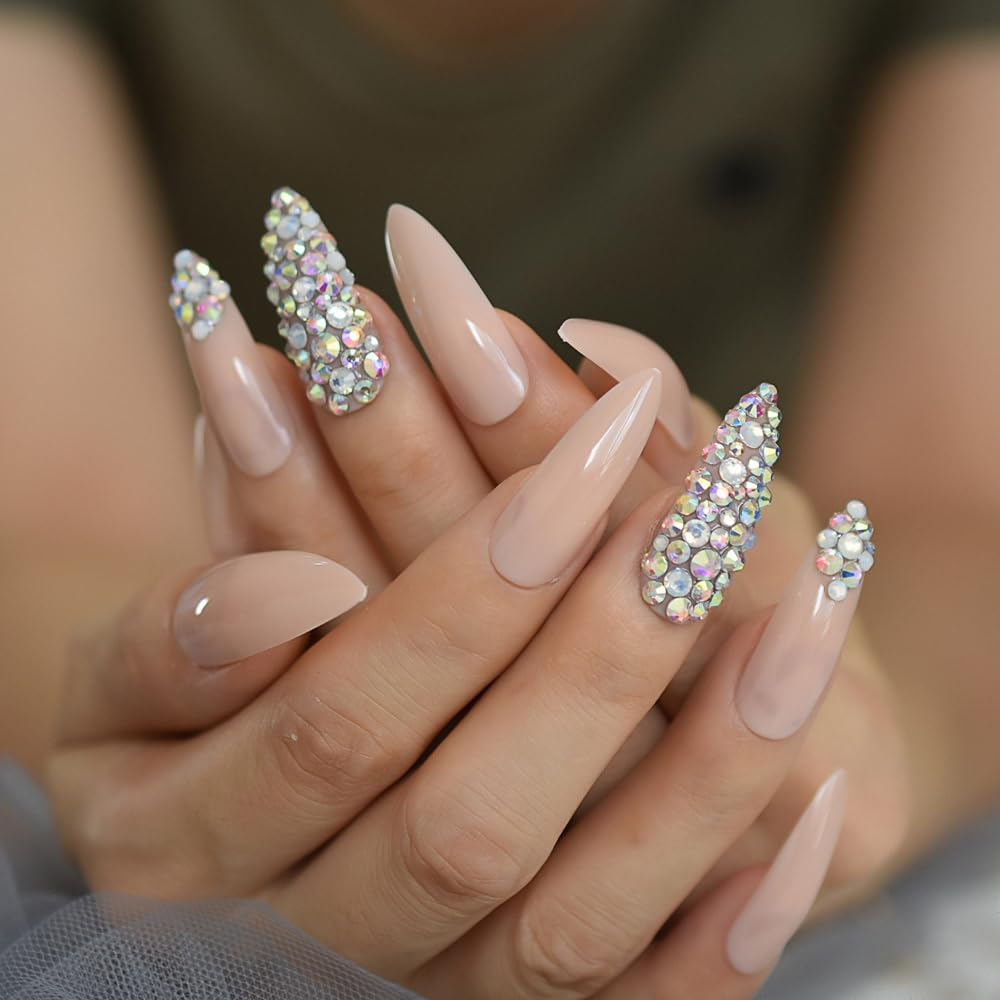
The Ultimate Guide to Applying Press-On Nails Like a Pro
Press-on nails have become a game-changer in the beauty world, offering salon-quality manicures at home without the hassle or expense. Whether you're a beginner or a seasoned pro, mastering the application process ensures a flawless and long-lasting manicure. Follow this step-by-step guide to achieve professional-looking press-on nails effortlessly.
Step 1: Gather Your Supplies
Before starting, make sure you have the following items:
- Press-on nails (your desired shape and size)
- Nail file and buffer
- Cuticle pusher or orange stick
- Rubbing alcohol or nail prep solution
- Nail glue or adhesive tabs
- Cotton pads
- Top coat (optional for extra shine and durability)
Step 2: Prep Your Natural Nails
Proper nail preparation is essential for ensuring your press-ons last longer and adhere securely:
- Clean your nails – Remove any old polish and wash your hands with soap and water.
- Trim and shape – Trim your natural nails and gently file them to remove rough edges.
- Push back cuticles – Use a cuticle pusher or orange stick to push back your cuticles for a clean base.
- Buff the nail surface – Lightly buff the surface of your nails to remove shine and create a better adhesive surface.
- Wipe nails with alcohol – Use a cotton pad soaked in rubbing alcohol or a nail prep solution to remove any oil or residue.
Step 3: Select the Right Nail Sizes
Matching your press-on nails to your natural nails is key to achieving a seamless look:
- Lay out the press-on nails and compare them to your natural nails.
- Choose sizes that fit snugly without overlapping onto the skin.
- If needed, file the edges of the press-on nails for a perfect fit.
Step 4: Apply the Press-On Nails
You can use either nail glue or adhesive tabs based on your preference: Using Nail Glue:
- Apply a small drop of nail glue to both your natural nail and the press-on nail.
- Align the press-on nail with your cuticle, then press firmly for 10-15 seconds.
- Repeat for each nail, ensuring they are secured properly.
Using Adhesive Tabs:
- Peel the adhesive tab and place it on your natural nail, pressing firmly.
- Remove the protective film and align the press-on nail before pressing it into place.
- Hold for a few seconds to ensure a secure bond.
Step 5: Shape and Customize
- If needed, file the tips of the press-on nails to smooth out edges or adjust length.
- Apply a top coat for extra shine and protection.
- Add nail art or polish to customize your manicure.
Step 6: Nail Care and Maintenance
To extend the wear time of your press-on nails:
- Avoid soaking your hands in water for extended periods, especially in the first few hours after application.
- Wear gloves when doing household chores.
- Apply a bit of nail glue if you notice any lifting.
Step 7: Safe Removal Process
Removing press-on nails correctly prevents damage to your natural nails: Soak-Off Method:
- Soak nails in warm, soapy water for 10-15 minutes.
- Gently lift the edges using a cuticle pusher.
- Continue soaking if necessary until the press-ons slide off easily.
Oil Method:
- Apply cuticle oil around the edges of the press-on nails.
- Gently work the nail off using an orange stick or cuticle pusher.
Avoid forcefully pulling off press-on nails, as this can damage your natural nails.
Final Thoughts
Press-on nails are a fantastic alternative to salon manicures, providing a stylish and cost-effective solution for beautiful nails. With proper application and care, they can last up to two weeks, keeping your nails looking fresh and flawless. Follow this guide, and you'll be rocking salon-worthy nails like a pro in no time!
Read more
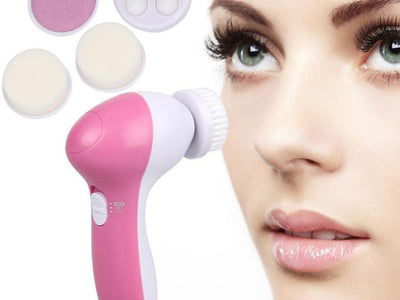
How to Use a Skin Care Massager for Maximum Benefits?
A skin care massager can elevate your beauty routine, improving circulation, enhancing product absorption, and giving your skin a radiant glow. However, to maximize its benefits, it's essential to ...
Read more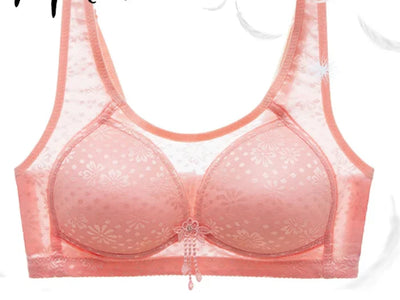
How to Choose the Perfect Plus-Size Bra for Maximum Comfort and Support?
Finding the right bra can be a game-changer for plus-size women. The right fit enhances comfort, provides necessary support, and boosts confidence. However, with so many options available, it can b...
Read more