Step-by-Step Guide: How to Use a Rotating Hair Curler Like a Pro
A rotating hair curler is a game-changer for effortless, salon-quality curls at home. If you’ve just purchased one and are unsure how to use it, this guide will walk you through the process, ensuring you get flawless curls every time.
Step 1: Prep Your Hair
Before using a rotating hair curler, it's essential to prepare your hair to achieve long-lasting curls while minimizing damage.
- Start with clean, dry hair – Ensure your hair is washed and completely dry before curling. Using a curler on damp hair can cause heat damage.
- Apply heat protectant – A good heat protectant spray or serum will shield your hair from excessive heat exposure.
- Detangle your hair – Brush through your hair to remove knots and tangles, ensuring smooth curling.
- Section your hair – Divide your hair into small sections (about 1-2 inches wide) to make curling easier and more manageable.
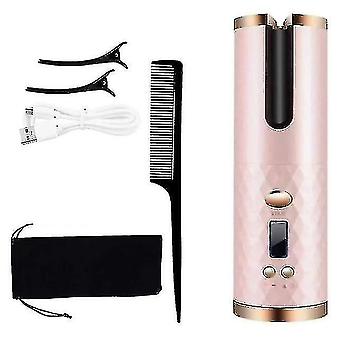
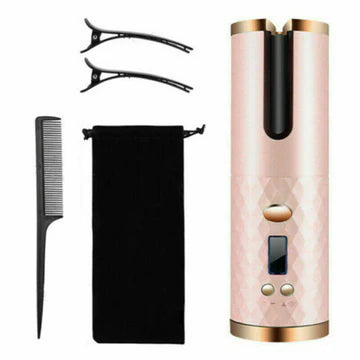
Step 2: Set Up Your Rotating Hair Curler
Understanding the features of your rotating curler is key to achieving your desired style.
- Choose the right temperature setting – If you have fine or damaged hair, use a lower heat setting (250°F-300°F). For thick or coarse hair, opt for a higher setting (350°F-400°F).
- Select the rotation direction – Most rotating curlers allow you to curl your hair inwards (towards your face) or outwards (away from your face). Choose your preferred curl direction.
- Ensure proper grip – Hold the curler vertically or at a slight angle, depending on the style you want.
Step 3: Curling Your Hair
Now that your curler is set up, it's time to start curling!
- Take a small section of hair – Clamp the ends of your hair into the barrel.
- Activate the rotation – Press the button to rotate the barrel in your desired direction. The rotating mechanism will wrap your hair around the curler effortlessly.
- Hold for a few seconds – Keep the hair wrapped around the barrel for about 5-10 seconds, depending on your hair type and the heat setting.
- Release the curl – Gently open the clamp and let the curl slide off the barrel.
- Repeat for all sections – Continue curling each section of hair, alternating curl directions for a natural, voluminous look.
Step 4: Set and Style Your Curls
To ensure your curls last all day, follow these finishing touches:
- Let the curls cool – Allow your curls to cool completely before touching them. This helps set the shape.
- Run fingers or a brush through curls – For a softer, more natural look, gently run your fingers or a wide-tooth comb through the curls.
- Apply hairspray or styling product – Use a light-hold hairspray to lock in the curls without making them stiff.
- Add finishing touches – For extra shine, apply a few drops of hair oil or serum to your ends.
Bonus Tips for Perfect Curls
- Always curl away from your face for a more open and flattering look.
- If your curls fall flat quickly, use a setting spray before and after curling.
- Experiment with different section sizes for varied curl styles—smaller sections for tight curls and larger sections for loose waves.
By following these steps, you’ll master the rotating hair curler and achieve flawless, long-lasting curls with ease. Happy styling!
Read more
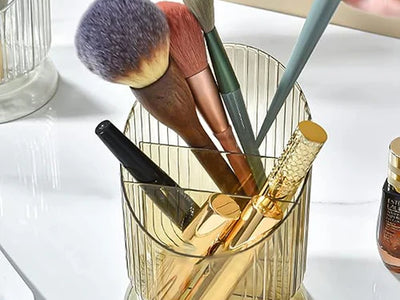
How to Choose the Perfect Makeup Brush Holder for Your Collection?
A well-organized makeup station is essential for a seamless beauty routine, and having the right makeup brush holder can make a huge difference. With so many options available, choosing the perfect...
Read more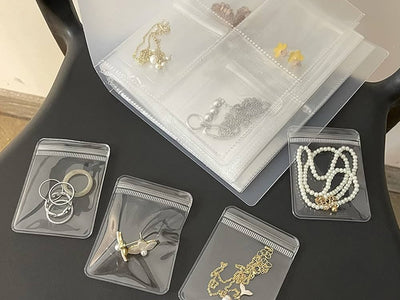
How to Organize Your Jewelry Collection Using a Jewelry Storage Book?
Jewelry is more than just accessories—it’s often a reflection of your personality, style, and treasured memories. Over time, collections can grow, and before you know it, your favorite earrings, ne...
Read more