5 Simple Steps for Perfect Curls Every Time: A Beginner’s Guide to Using a Hair Curler
Curls have an effortless charm that can instantly elevate your look, whether you're going for a chic beachy wave or voluminous, bouncy curls. But achieving perfect curls every time with a hair curler can be intimidating for beginners.
Don't worry — with the right steps and a little practice, you’ll master the art of curling your hair like a pro. In this beginner’s guide, we’ll walk you through the 5 essential steps to get the perfect curls every time, ensuring they last longer and look flawless.

Step 1: Prep Your Hair
Before you even think about reaching for your curling iron, it's important to prepare your hair for styling. Healthy hair is key to getting perfect curls, and that starts with proper prep.
-
Start with Clean, Dry Hair: Curls hold better on dry hair. If your hair is freshly washed, make sure it’s completely dry before you start curling. If you're short on time, you can use a blow dryer to speed up the process.
-
Use a Heat Protectant: One of the most crucial steps in preventing damage to your hair is applying a heat protectant. This will shield your strands from the high temperatures of your curling iron, ensuring your hair remains healthy and shiny. Simply spray or apply a heat protectant evenly through your hair, concentrating on the ends.
-
Detangle and Smooth: Use a wide-tooth comb or brush to get rid of any tangles. Smooth hair is easier to curl and ensures a more uniform, polished finish.
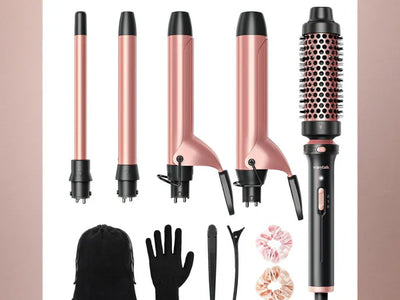
Step 2: Choose the Right Curler for Your Hair
Now that your hair is prepped, it’s time to choose the right curler. The type of curler you use can make a huge difference in the outcome of your curls.
-
Barrel Size: The barrel size you choose determines the type of curls you’ll get. A smaller barrel (around 1 inch or less) creates tight, bouncy curls, while a larger barrel (around 1.5-2 inches) will give you loose, beachy waves. If you’re unsure, a medium-sized barrel (1 inch) is versatile and works well for most curl styles.
-
Material of the Barrel: Curling irons are typically made of ceramic, tourmaline, or titanium. Ceramic is ideal for fine or damaged hair since it distributes heat evenly. Titanium is great for thicker hair, as it heats up quickly and gives a smooth finish. Tourmaline combines the benefits of both materials and reduces frizz.
-
Adjustable Heat Settings: Always choose a curler with adjustable heat settings, especially if you have different hair textures. Fine hair requires lower temperatures (around 300°F), while thick or coarse hair can handle higher heat (around 400°F). This ensures you’re not applying too much heat, which can cause damage.
Step 3: Section Your Hair
To achieve perfect curls, it’s essential to work in small, manageable sections. Dividing your hair into sections allows you to curl each strand evenly and get consistent results.
-
Divide Your Hair Into 3-4 Sections: Start by parting your hair down the middle or to one side, depending on your preferred style. Then, divide your hair into 3-4 sections — top, middle, and bottom. You can use clips or hair ties to hold the sections in place.
-
Work from Bottom to Top: Begin curling with the bottom section of your hair. This will help ensure that the curls are uniform and prevents them from getting squished by hair from the top layers.
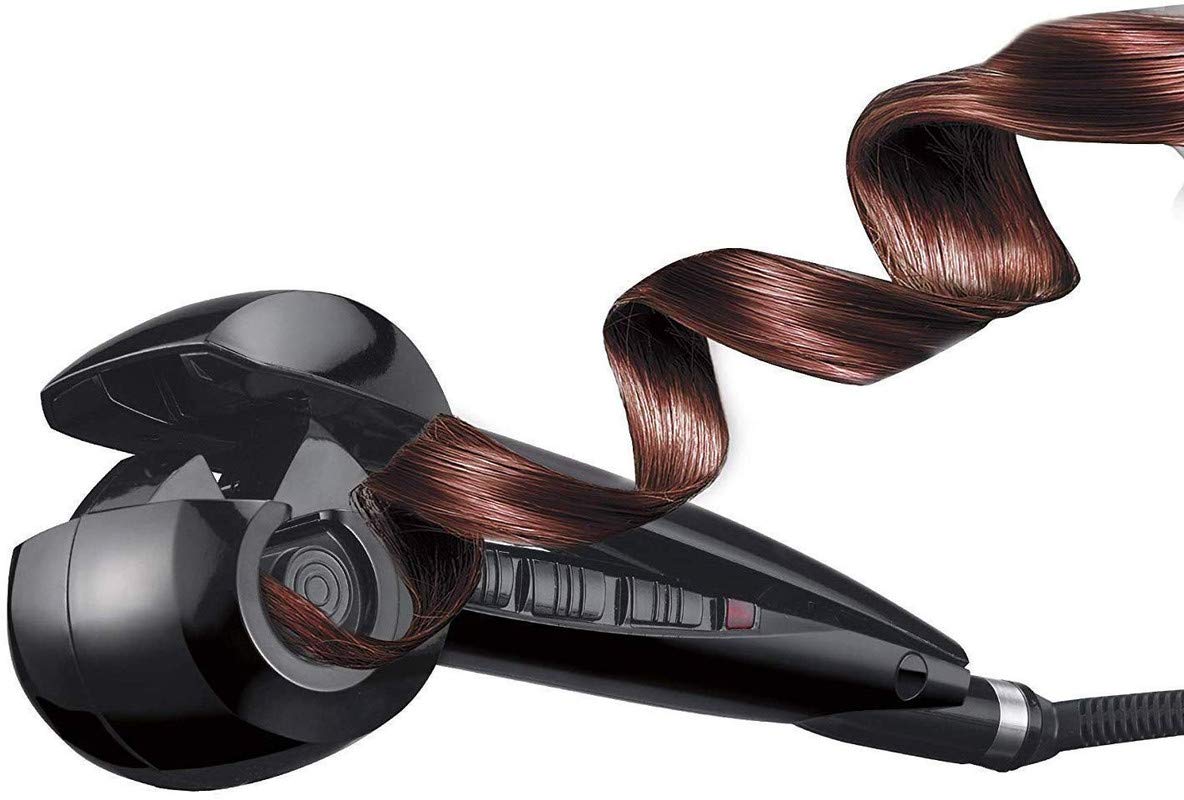
Step 4: Curling Technique – How to Use the Hair Curler
Now comes the fun part — curling your hair! Follow these tips to make sure you curl your hair properly for long-lasting and beautiful results.
-
How to Hold the Curler: Start with the curler facing downward and the clamp (if your curler has one) facing towards your head. The clamp should be used to hold the hair at the root, but many people prefer to wrap the hair around the barrel without the clamp for a more natural look.
-
Wrap Your Hair Around the Barrel: Starting at the roots, wrap a small section of hair (about 1-2 inches wide) around the barrel. Hold the hair in place for 5-10 seconds. Don’t wrap the hair too tightly — allow some space between the hair and the barrel for more relaxed curls.
-
Release the Curl: Gently release the curl by letting go of the clamp (if using one) or carefully unwrapping the hair from the barrel. Let the curl cool down in your hand for a few seconds before letting it fall. This helps set the curl and prevents it from loosening too quickly.
-
Repeat: Continue curling the remaining sections of your hair, working your way up from the bottom to the top. For different curl effects, alternate the direction you curl the hair — curl some sections towards your face, others away from your face.
Step 5: Finish and Set Your Curls
Once all your hair is curled, it’s time to finish your look and make sure your curls last.
-
Don’t Touch Your Curls Right Away: After you’ve curled your hair, avoid touching or brushing it immediately. Let the curls cool down and set in place. This helps them hold their shape and prevents them from falling out too soon.
-
Apply a Light Hairspray: To keep your curls intact for hours, apply a light hairspray. Avoid using heavy hairspray, as it can make your curls stiff and unnatural. Instead, use a flexible hold spray to keep your curls bouncy and movable.
-
Tame Flyaways: Use a smoothing serum or hair oil to tame any frizz or flyaways and add a glossy shine to your curls.
-
Optional – Add Volume: For more volume, gently shake out the curls with your fingers. This will break them up slightly and give them a more natural, voluminous look.
Conclusion
Achieving perfect curls doesn’t have to be complicated. By following these 5 simple steps — from prepping your hair to choosing the right curler and using the proper technique — you’ll be able to create beautiful curls every time. Practice makes perfect, so don’t be discouraged if it takes a few tries to get it just right. With a little patience, you'll be curling like a pro and rocking flawless curls all day long!
Read more
Why the Curling Wand Is the Must-Have Tool in Your Hair Styling Arsenal?
When it comes to styling your hair, versatility, efficiency, and ease of use are key factors in choosing the right tool. Among the many options available, the curling wand has become a staple in ha...
Read more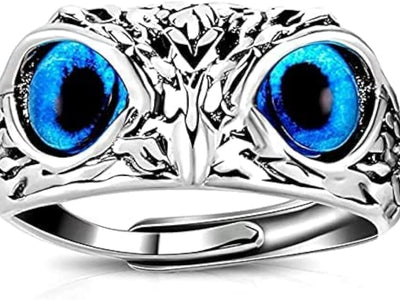
How to Style an Owl Ring for Different Occasions?
An owl ring is more than just a unique accessory—it's a statement piece that embodies wisdom, intuition, and individuality. Whether you're dressing up for a night out, heading to a casual brunch, o...
Read more